Is your Mac not connecting to the Internet after the latest software update? These solutions may help.
Apple has just released macOS Ventura, and though most users would have a smooth upgrade experience, some reportedly faced issues connecting to the Internet after the update.
If you’re one of those users, fret not. While there could be several reasons for being unable to connect, the solutions listed here might help you fix the problem.
Common solutions to fix Internet not working on Mac
If you find that your Mac cannot connect to the Internet (whether after a software update or otherwise), here are a few typical solutions you can try.
- Check your router or other devices to determine if it’s an issue with your Wi-Fi network. If so, contact your ISP and ask them to diagnose and fix your Internet connectivity.
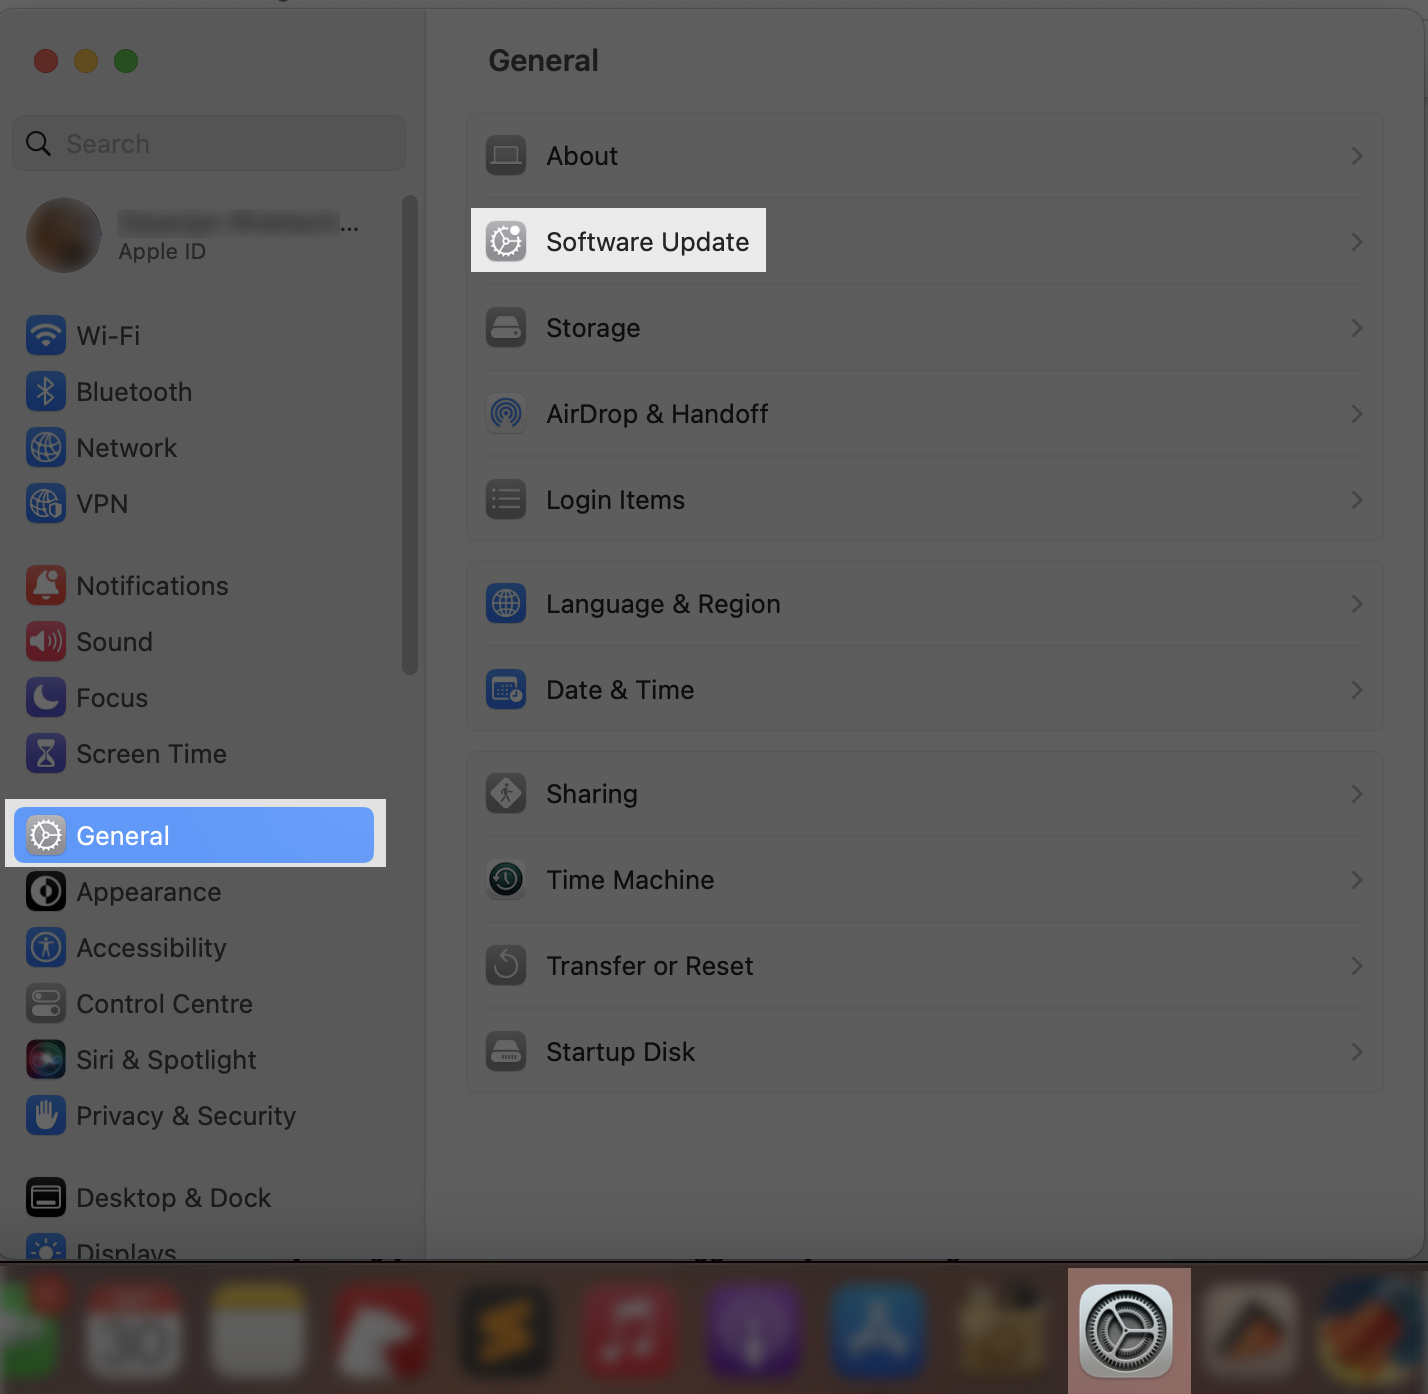
- Check and update macOS to the latest version: If it’s an issue with macOS, it’s likely to be fixed in a software update. Check to see if you have the latest updates installed. Go to System Settings >> General >> Software Update or System Preferences >> Software Update (if using macOS Monterey or earlier).
- Restart your Mac.
- Disconnect and reconnect your Wi-Fi.
- Forget saved Wi-Fi networks and reconnect. To forget your current network, click the Wi-Fi icon on the Mac menu bar and go to Wi-Fi Settings… (or Network Preferences on an earlier version of macOS). Click Details or Advanced on the Wi-Fi details screen after connecting to your Wi-Fi SSID, and click the “Forget This Network…” button.

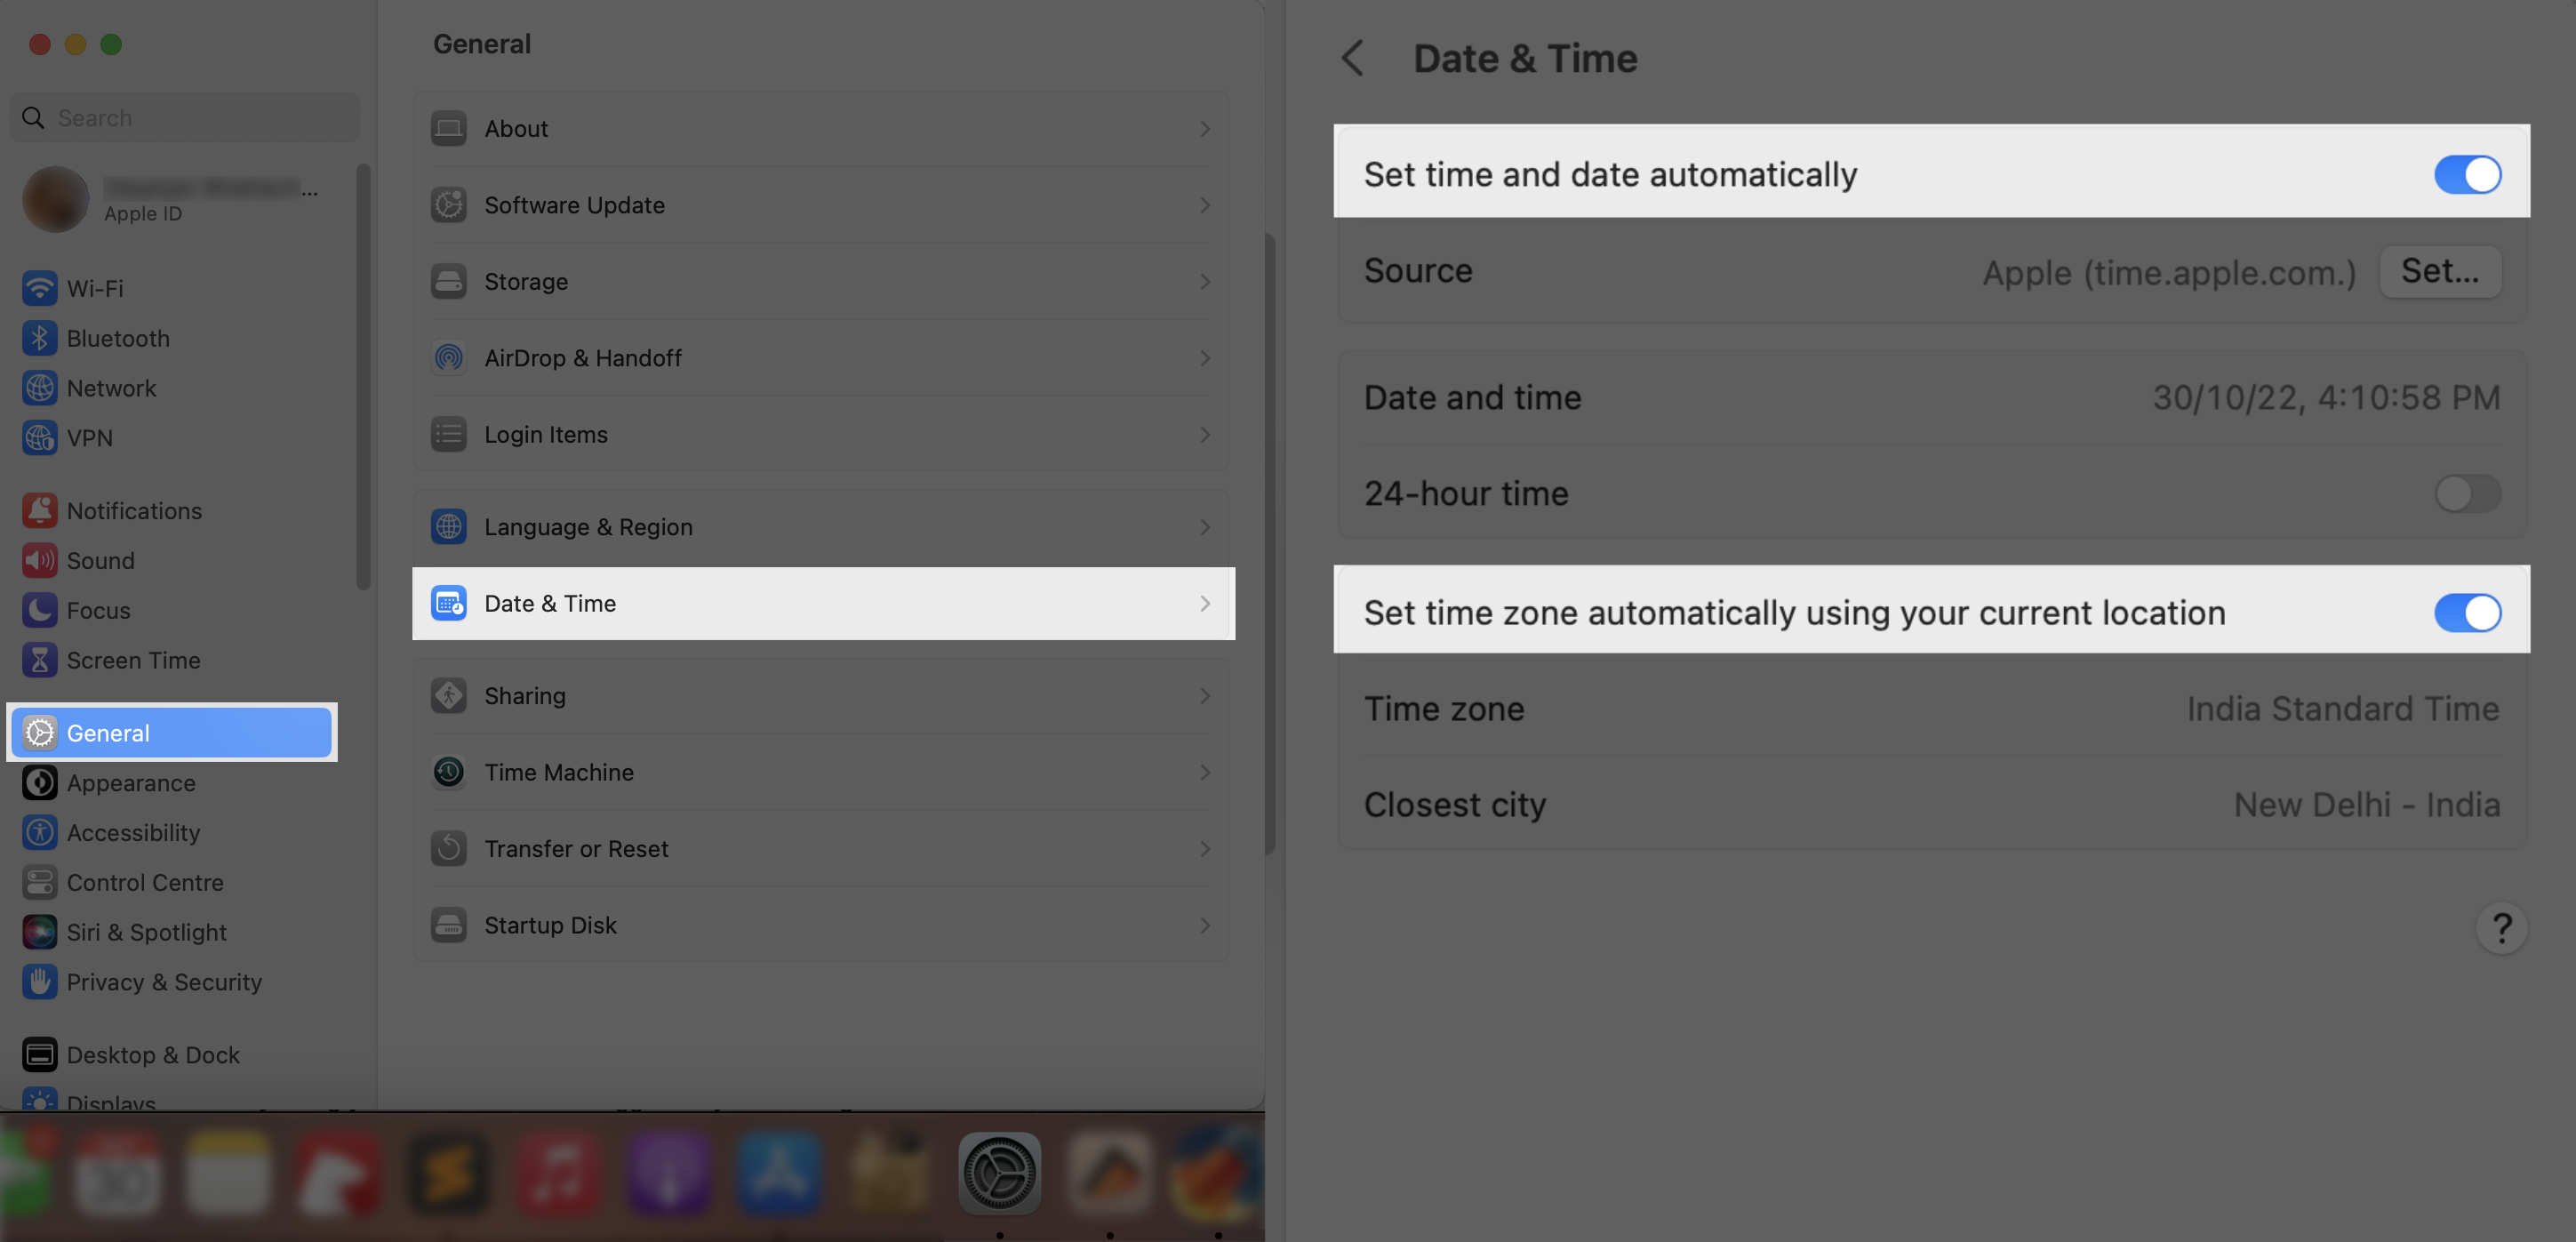
- Ensure the date, time, and location settings are up-to-date. To set this automatically, go to System Settings >> General >> Date & Time, and turn on Set time and date automatically and Set time zone automatically using your current location toggles. If you’re using an earlier version of macOS, the same settings can be found in System Preferences >> Date & Time and Time Zone, respectively.
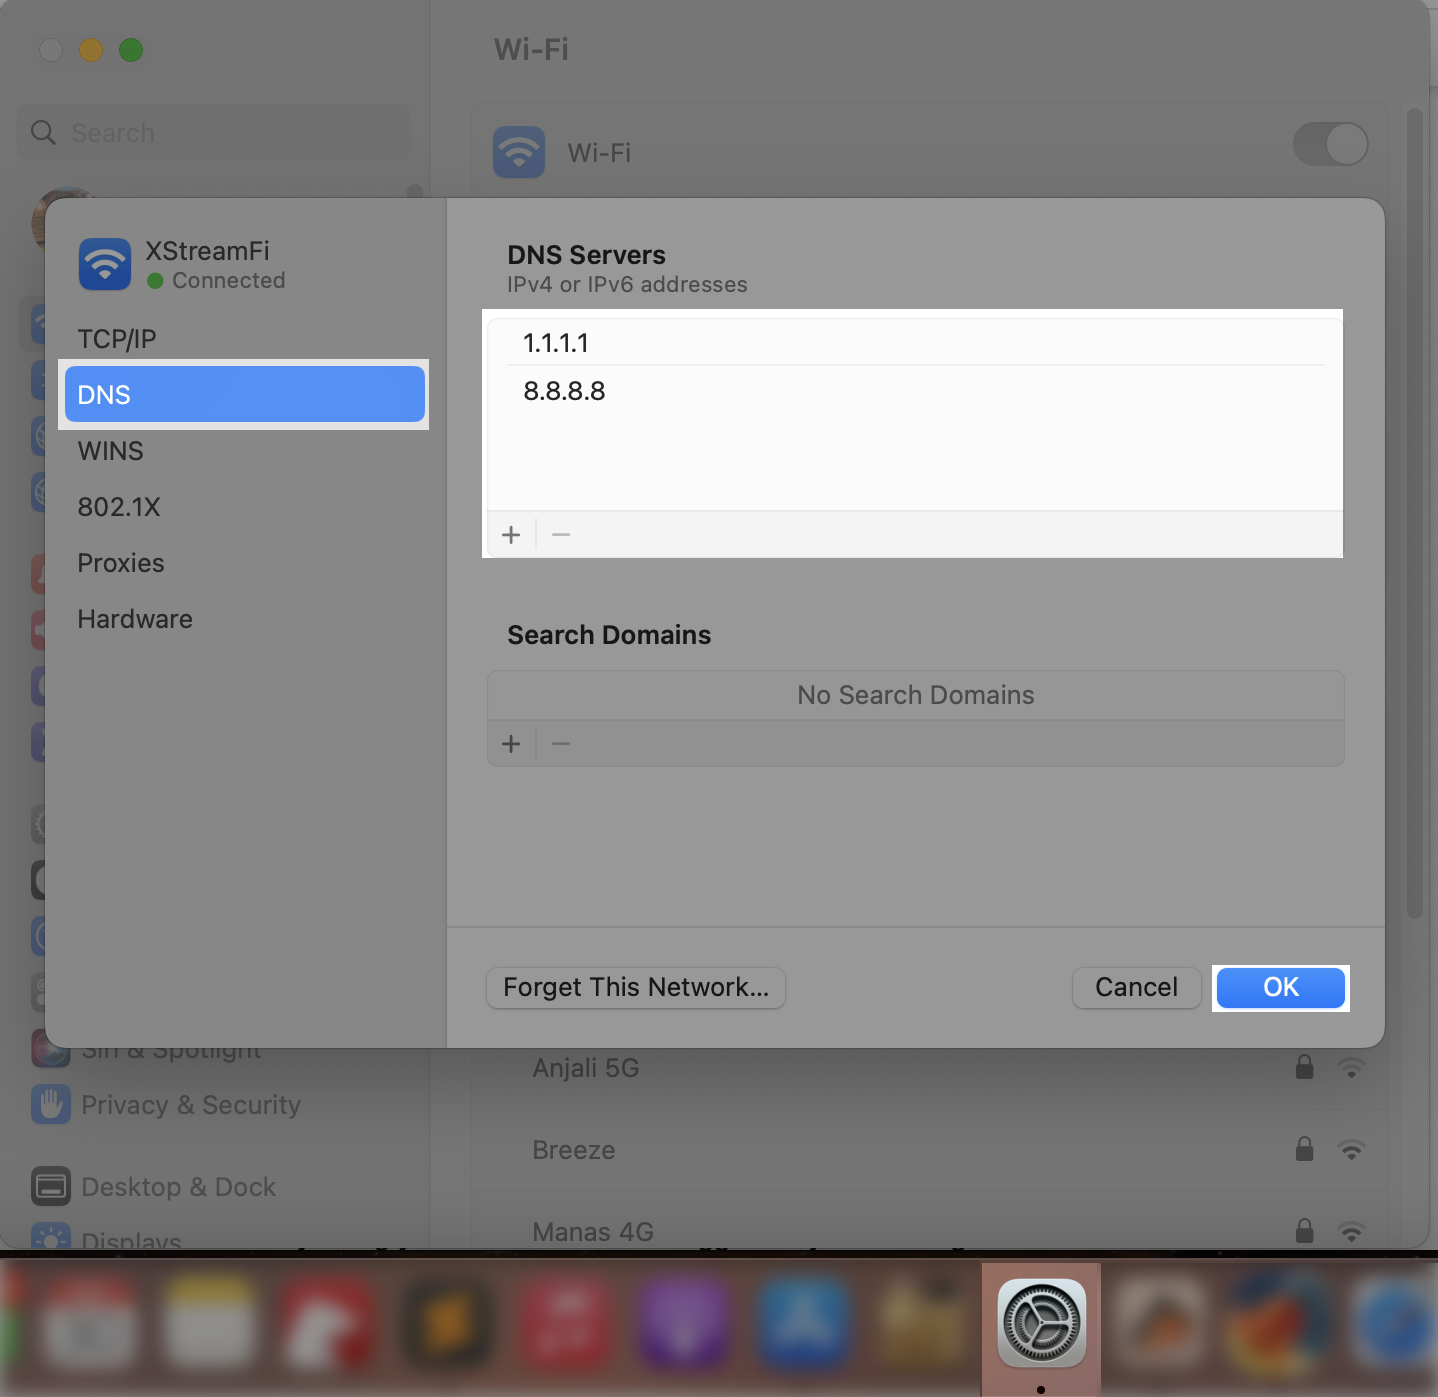
- Set the DNS to 1.1.1.1 or 8.8.8.8. To configure this, go to System Settings >> Wi-Fi. Click on Details adjacent to the connected Wi-Fi SSID. Finally, click on the DNS tab and add “1.1.1.1” and “8.8.8.8” as DNS entries. For earlier macOS versions, go to System Preferences >> Network >> Advanced, and click the DNS tab for the respective option.
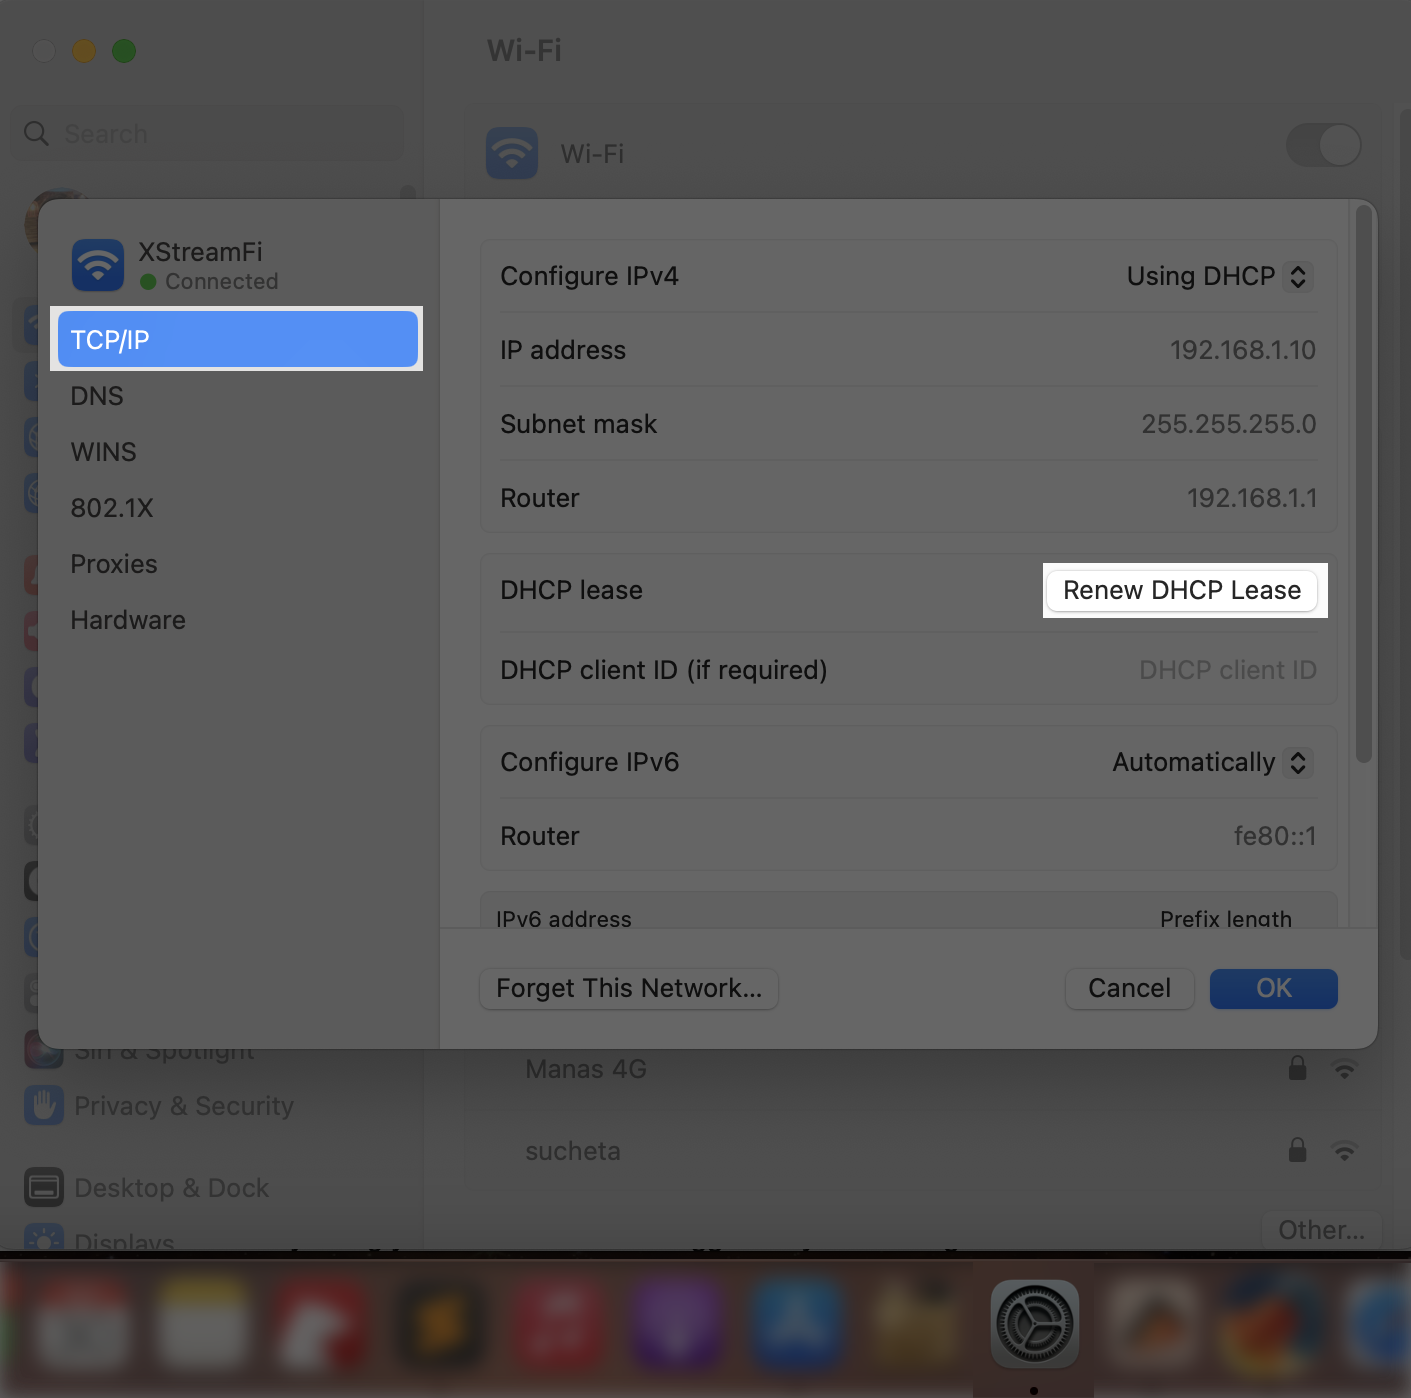
- Renew DHCP Lease in Network Preferences. For this, go to System Settings >> Wi-Fi. Click on Details adjacent to the connected Wi-Fi SSID. Now, go to the TCP/IP tab and click the Renew DHCP Lease button. On an earlier version of macOS, go to System Preferences >> Network >> Advanced, click the TCP/IP tab, and click the Renew DHCP Lease button.
After each of the troubleshooting steps above, you may have to restart your Mac for the changes to take effect.
Force Quit or uninstall conflicting apps
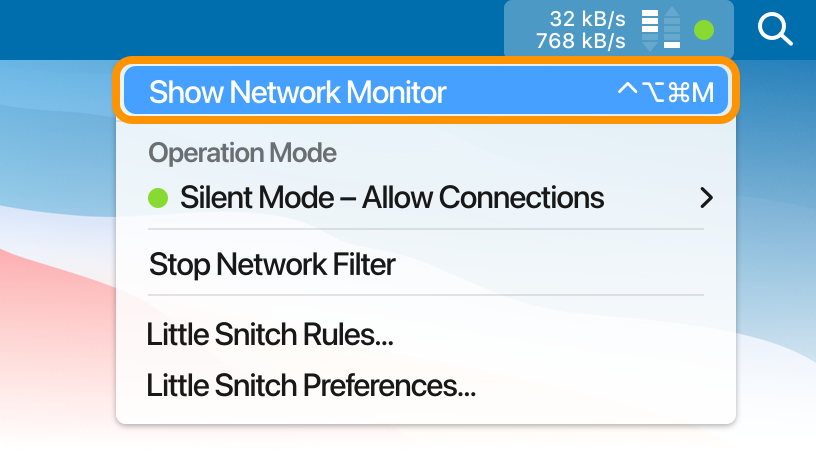
If you’re still facing Internet connectivity issues after completing the above steps, it could be possible that a software running on your Mac may be causing the connectivity issues. This is usually caused by network-related apps, especially proxy, VPN, or network monitoring tools, like Little Snitch.
The Wi-Fi or your Mac’s network interface may not work as intended if a conflict between macOS and the software arises due to a recent software update. And even if the individual software developer issues an update to fix the conflict issue, your Mac might not get the update as it’s already disconnected from the Internet.
In such situations, you may be able to fix the issue by simply quitting the application from the menu bar, Force Quit if it refuses to do it normally, or uninstalling the app entirely.
Once the app is no longer running, you’ll most likely be able to reconnect to the Internet. If not, restart your Mac and try again.
If you regularly use the particular network-related app that caused the Internet connectivity issue on your Mac, look for any official announcements that the app developer might have published. And if an update to the app is pushed, you can manually download the software from the official website or repository, install it, and verify that the connectivity issue is no longer present.
If this article has helped you resolve the Internet not working on your Mac issue, comment below and also share this article with someone who might be facing the same problem.