AndroVM is a virtual machine that runs the Android Operating System in Windows / Mac. It is similar to BlueStacks Android emulator, but it can run custom Android versions even up to Jelly Bean 4.1.1. In this article, we shall see how to access local computer files inside AndroVM.
GenyMotion is the upgraded version of AndroVM which comes with an all new user interface that includes Android soft keys (capacitive buttons) for Menu, Home and Back Buttons. It also features IDE integration plugins for NetBeans and Eclipse to aid Android developers. GenyMotion supports Android versions upto JellyBean 4.2 and above; and can emulate multiple devices. GenyMotion project is now under active development and is available for download after registering a free account.
AndroVM / GenyMotion File Transfer
First of all, your virtual Android must be configured. To know more about how to set up AndroVM / GenyMotion on your PC, refer the following articles.
Install & Set up AndroVM on PC
Next, you may want to access files like photos or APKs from your computer inside AndroVM / GenyMotion. For this, you will have to grant access to your local PC folders inside it. This article will walk you through the process.
How to access local files from AndroVM (GenyMotion)
- Create a new folder in your local system.
- Copy the files you want to access in AndroVM (GenyMotion) into this new folder.
- Open VirtualBox and select the imported AndroVM (GenyMotion) image on the left pane.
- Click on Settings. The Settings panel will pop up.
- Select Shared Folders tab on the left side.
- Select Machine Folders and click on Add Share (Blue folder icon) to add a new Shared Folder within VirtualBox.
- Choose the Folder path as Others and browse to the newly created folder.
- Select the check boxes as per your requirement and click on OK. Read Only: To prevent modification of its contents inside AndroVM. Auto Mount: To mount the folder automatically on startup (AndroVM). Make Permanent: Grant permanent access to this folder inside AndroVM.
- Restart AndroVM (GenyMotion).
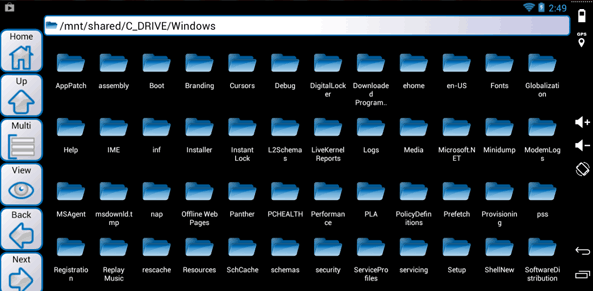
- Open Astro File Manager (pre-installed in AndroVM) in Android. Browse to /mnt/shared to open the shared folder.
This folder has all the files that actually reside locally on your computer.
Note: GenyMotion uses VirtualBox in the background. So any change in the Android image loaded in VirtualBox will reflect on GenyMotion too.
Additional Note: If you want to install apps directly from APK files, you need to first allow third party app installations. For this, open the app drawer from AndroVM (GenyMotion) and go to Settings >> Developer Options and check on Unknown Sources. Confirm the notification and you are all set to install third party apps.
Now if you need to install apps from APK files, simply put the APK into the shared folder and open it inside AndroVM. Select Install from the prompt and confirm the permissions. The app will be installed in AndroVM.