Instagram lets you upload photos from your smartphone. But if you don’t have one, you might be wondering whether it’s possible to do the same from your computer. Or maybe you want to do it anyway. Well, it’s possible. In this article, we will show you how to upload photos to Instagram from your computer.
To upload photos to Instagram from your computer, you’ll need to run the Instagram app on your system. A software named BlueStacks helps you to run the app inside a virtual environment.
Steps to upload photos to Instagram
1. Download and Install BlueStacks. (Required to run Instagram. Ref: How to install and run Android apps on your PC )
2. Download and install Instagram in Bluestacks by double clicking the .apk file. Launch Instagram from BlueStacks’ library. (You might have to install Android-Market-Installer in order to run Instagram on Bluestacks)
3. Login to Instagram (You need to sign up for Instagram in order to use it, if you haven’t already yet).
4. Click the icon ![]() at the bottom right corner >> Click the top right icon
at the bottom right corner >> Click the top right icon ![]() next to the Search button >> Camera Settings and uncheck “Use Instagram’s Advanced Camera” option.
next to the Search button >> Camera Settings and uncheck “Use Instagram’s Advanced Camera” option.
5. Click on ![]() (Camera icon) at the bottom of the app. A menu pops up asking you to provide a source for the photos to be uploaded. Select Photo Gallery.
(Camera icon) at the bottom of the app. A menu pops up asking you to provide a source for the photos to be uploaded. Select Photo Gallery.
[ Update: For people having problems with syncing Photos from hard drive, check out How to directly Access your local files from BlueStacks on Windows. ]
6. You should see all the photos from your Windows default Pictures folder. Look for the photo you want to upload from the Gallery, and select it.
7. Crop/Resize the photo and click Accept.
8. Apply Instagram filters to the photo (if you want to), finalize your changes and click ![]() in the top right corner.
in the top right corner.
9. Fill up the details and click Upload in the top right corner. And you’re done!
Update: We have found out that some of our readers have faced problems while
installing the Instagram app. Users get errors like
Apk Installation failed: INSTALL_FAILED_INSUFFICIENT_STORAGE or
Apk Installation failed: INSTALL_FAILED_INVALID_APK
when they double click on the .apk. For similar " Apk Installation failed" problems,
try to install apks from within BlueStacks instead of double clicking them from
Windows. Read this article to find out how to access your local files inside
BlueStacks. Now download and install the Android Market Installer using
OI File Manager inside BlueStacks. And then install the Instagram app in the
same way inside BlueStacks. Doing this will also solve the "Dismiss" Sign Up error.
Note:
Before running the Instagram app in Bluestacks, ensure that you place all the photos you want to upload, in the default pictures directory (C:\Users\[Username]\Pictures\ for Windows Vista, 7 or 8, assuming C is your Windows directory). It takes some time for BlueStacks to Sync all your photos to the gallery. So be patient till it’s done.
Post photos to Instagram from PC (Smartphone required)
Most Instagram users nowadays own a smartphone. And if you are a photo buff, chances are that your digital camera takes better quality photos compared to your smartphone. You may also have thousands of photos stored across multiple devices. Your smartphone may hold a few 100 photos, but your computer can store your entire photo collection. If only there was a way to access all those photos from your computer and share them on Instagram.

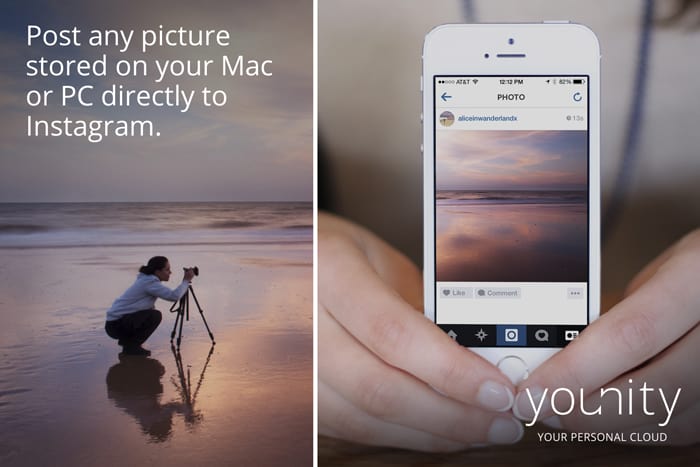
Well, with Younity, now you can. If you haven’t heard about it, Younity is an app for iPhone and iPad that lets you access and share content (documents, photos, music, video, etc.) from all your devices. All you need to do is install Younity on all your devices and the app will automatically provide unified access to all your files across all them. The people behind Younity have recently announced support for Instagram. So now you can access all your photos within the Younity app, and post them directly to Instagram from your iPhone or iPad.
Share photos from your computer using iPhone/iPad
The Younity client can be installed on both Mac and PC. However, in order to access and share photos on Instagram, you’ll require the iPhone or iPad app. Unfortunately, Younity is still not available for Android or Windows Phone.
To share photos on Instagram via Younity, just follow the steps below:
- Download and install Younity for iPhone or iPad.
- Make sure Younity is installed on all your devices – it will automatically find your photos.
- Open Younity on your iPhone/iPad and go to the Photos View or Files View.
- Browse and select a photo on your computer and tap on the “Activity View Controller” (Share) button in the lower-right corner of the screen.
- Select Instagram from the list of available apps.
- Resize your photo and tap on Done. The photo now opens up in Instagram.
- Add suitable filters to the photo and tap on Share.
And that’s it. The photo will be posted to Instagram. You can optionally add your comments, captions, hashtags and tag your friends too. Try sharing on Instagram with Younity today and let us know how you like it.
You Might Also Like